 SEEDLE
Strategy I derived from the rules
Seedle.io tips for a higher grade
I chased a big raw number and landed a C, because the grade is a ratio. Once I compared my harvest to the solver's best, the board started to make sense.
The grade cutoffs
The game function I read scores you against best, which is the highest total the official solver found by trying placements. These cutoffs are from that function on 30 September 2026. They are not a forum house rule.
| Grade | Score / best |
|---|---|
| S | 100% |
| A | 90% or higher |
| B | 75% or higher |
| C | 60% or higher |
| D | 45% or higher |
| F | Below 45% |
What I do before Harvest
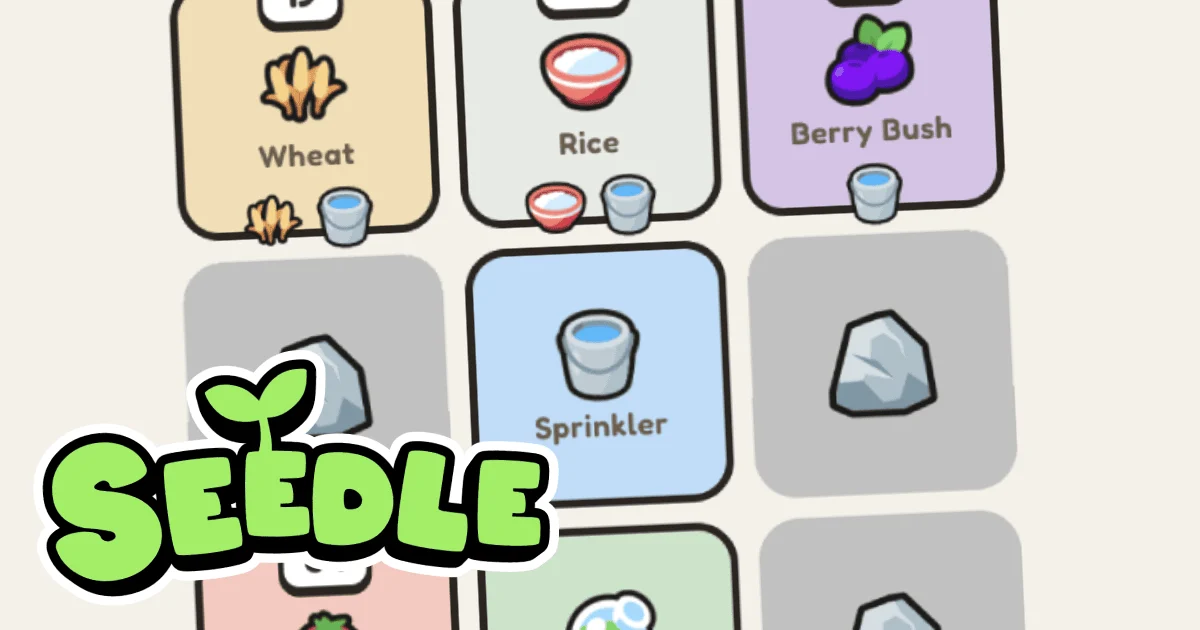
These steps are my own reading of the effects, not an official recommended line. I put the doubling row or column on the crops that already have a high base, then I check adjacency: bees want sunflower or berry bush beside them, rain wants crops and must stay off a cactus, fire wants potato or corn. A rock shrinks the grid, so I spend the empty cells on boosters that touch two crops rather than on a lonely tile.
An S grade means the layout matches the solver's best total. The solver also counts how many layouts reach S and how many reach A. I treat that as a tightness signal: if only one layout is S, a single swapped tile drops me to A or worse. There is no undo after Harvest.
- Badges named in the game include First Sprout, Green Thumb, On a Roll, Evergreen, Flawless, One Shot, Time Traveller, Bronze, Silver, and Gold Trophy, S-Tier Legend, Perennial, Lucky Dip, Show and Tell, Hard Graft, Gold Rush, Compost Happens, and Share Shame.
Source: seedle.io. Grade function and badge names read from the bundle on 2026-09-30.
Questions I keep getting
Does a higher raw score always mean a better grade?
Only relative to that day's best. A 40 on a day whose solver best is 40 is an S. A 40 on a day whose best is 80 is a D.
Will these tips solve today's puzzle for me?
No. The hand changes daily. Use the effects, then look at the answer notes only if you want the recorded layout.